Introduction
Gemini CLI is a command-line interface from Google that lets developers interact directly with Gemini models.
By default, each project supports only a single gemini.md system prompt. If you work across multiple scenarios,
you end up rewriting that prompt again and again — slow and error-prone.
💡 Tip: If you want Gemini CLI to better understand your project’s tech stack, goals, and coding style,
check out this snippet: GEMINI.md Example for Project Context.
Good news: Gemini CLI includes a powerful feature called custom commands. With custom commands you can save reusable shortcuts for your most common prompts, scope them globally or per project, and even inject shell output into prompts for dynamic context.
This tutorial covers:
- Installing Gemini CLI
- Creating your first custom command
- Global vs. project scopes and command naming
- Shell-powered prompts with
!{...} - Best practices and examples
1 Install Gemini CLI
You’ll need Node.js (LTS recommended).
Install via npm:
npm install -g @google/gemini-cliVerify installation:
gemini --versionYou should see a version number printed.

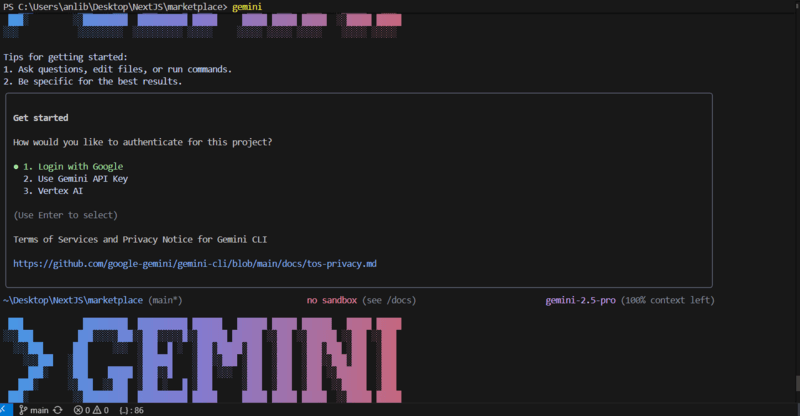
Log into your Google account:
gemini
When prompted in the terminal:
- Select 1. Login with Google
- Follow the browser link that opens.
- Approve access to your Google account.
Without logging in, most commands — including custom ones — will fail.
2 What Are Custom Commands?
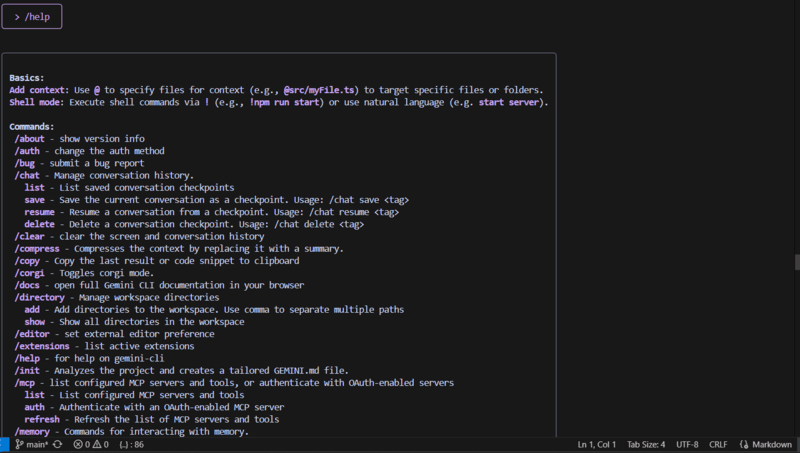
Gemini CLI ships with built-ins like:
/help
/clear
/copy
It also supports custom commands defined in .toml files. These commands:
- Can be global (usable in every project) or project-specific
- Allow namespaces like
/git:commitusing folder structure - Support placeholders like
{{args}}for free-form user input - Can run shell commands and inject their output into your prompt
3 File Locations & Naming Rules
| Scope | Folder location | Example → Command |
|---|---|---|
| Global | ~/.gemini/commands/ | ~/.gemini/commands/test.toml → /test |
| Project | <project>/.gemini/commands/ | .gemini/commands/git/commit.toml → /git:commit |
Rules:
- Command names come from the path relative to the
commandsfolder. - Subfolders create namespaces; path separators become colons.
- Files must be TOML (
.toml).
If a project command and a global command share the same name, the project one wins.
4 Create Your First Command (3 Steps)
Step 1 — Create the directory (global):
mkdir -p ~/.gemini/commandsStep 2 — Add a TOML file (example):
~/.gemini/commands/prdsplitter.toml
description = "Requirement breakdown assistant"
prompt = "Please break down this requirement: {{args}}"
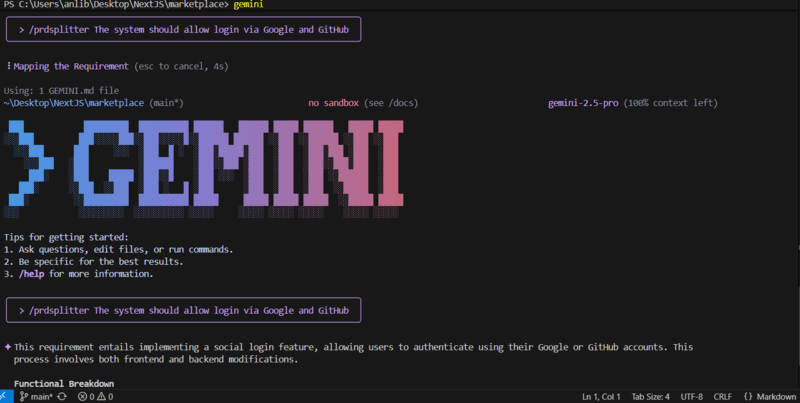
Step 3 — Use your new command:
/prdsplitter The system should allow login via Google and GitHub{{args}} expands to everything typed after the command name.

5 Ultimate Move: Shell-Powered Commands
Make prompts dynamic by executing shell commands with !{...} and injecting their output.
Example — Generate a commit message from staged changes
File: <project>/.gemini/commands/git/commit.toml → Command: /git:commit
description = "Generates a Git commit message based on staged changes."

prompt = """
Please generate a Conventional Commit message based on the following staged changes:

```diff
!{git diff --staged}
```
"""
How it works:
- When you run
/git:commit, the CLI executesgit diff --staged. - The output replaces the
!{...}placeholder inside the prompt. - The final prompt is sent to the model.
Safety: The CLI asks for confirmation before running any shell command. You can:
- Run once
- Always allow for this session
- Cancel
The CLI also respects global
excludeTools/coreToolssettings if configured.
6 Best Practices
- Use namespaces for clarity:
/git:commit,/api:review,/docs:summarize. - Keep project commands in version control so your team shares them.
- Put global commands under
~/.gemini/commandsfor personal shortcuts. - Document commands in your README for new contributors.
- Prefer
{{args}}for simple input; combine with!{...}to fetch local context.
7 Handy Examples
Summarize the project README
File: docs/summarize.toml → /docs:summarize
description = "Summarize documentation in plain English."
prompt = """
Summarize the following documentation in simple terms:

!{cat README.md}
"""
API review prompt
File: api/check.toml → /api:check
description = "Review API spec for completeness."
prompt = "Please review this API spec and list missing details: {{args}}"
Summary
Custom commands in Gemini CLI let you:
- Reuse your best prompts across projects
- Inject real-time shell output for context
- Keep prompts organized with namespaces
- Share project-specific commands via version control
Use them to speed up tasks like commit message generation, API reviews, and documentation summaries — without copy-pasting prompts.
